Okay, since way back in middle and junior high school I have loved friendship bracelets. I used to raid my Moma’s embroidery floss whenever I could get away with it! I thought I was being

sneaky but, she was onto me! You know the friendship bracelets I am talking about? The ones where you tie a bunch of knots this way and that and end up with a chevron design or a slanted single line design. Those 2 designs pretty much detail my friendship bracelet skills. However, there were some people that could really do some impressive stuff with their embroidery floss and some knots!
Well, flash forward 20 years when these new kinds of bracelets have surfaced as all kinds of trendy and in my humble opinion, cool. I checked out several tutorials like the one here and even attempted to emulate them… FAIL. And then! And then, I came to this tutorial and I found my ticket!
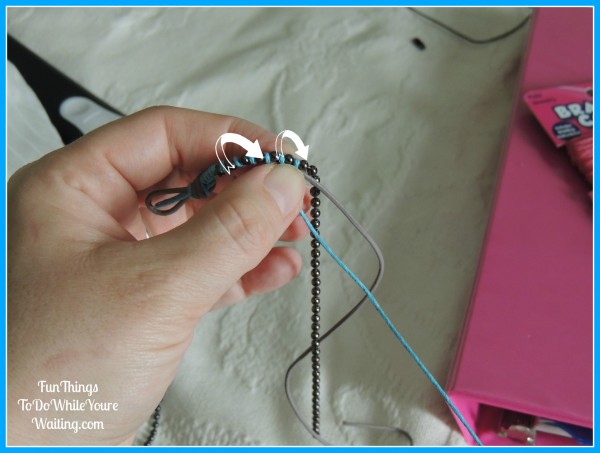
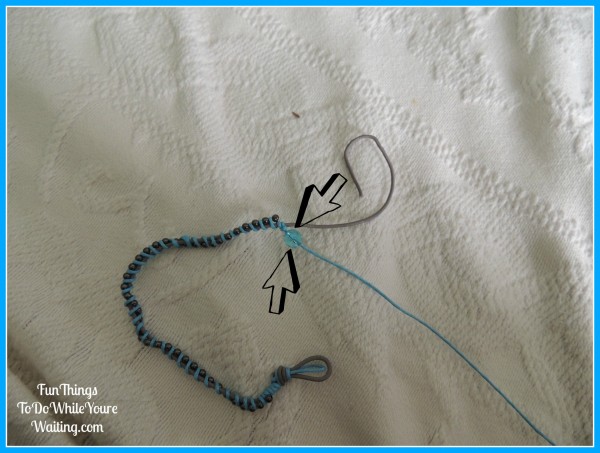
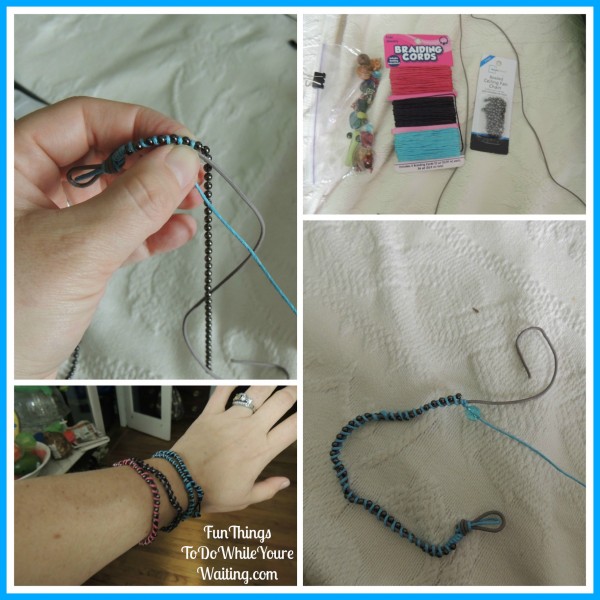
Basically, to make your modern style friendship bracelet, you will need some cord, a ceiling fan light chain and a bead. Okay, Bam! You make a loop with your first piece of cord and tie a knot to secure it. You want this piece to be about 3 inches longer than your wrist. Then you tie another piece of cord, fairly lengthy to your initial piece of cord. Finally you measure your wrist with the ceiling fan chain and pinch it (literally) at the length you want to break it. You wrap the lengthy cord around the shorter cord a few times and then hold the ceiling fan chain onto the short cord. You wrap the lengthy cord around both the short cord and ceiling fan chain. You do this until you come to the end of the ceiling fan chain.
 When you get to the end of the ceiling fan chain, wrap your originally lengthy cord a few times around the not as lengthy cord and knot it off. Then slide a bead down either cord to the knot and tie a knot on the other side of the bead securing the bead in place.
At this point your bracelet is basically finished. Cut off the extra cord and you are finished. Slide the bead through the loop you created in the beginning and your bracelet should stay clasped around your wrist.
I was so pleased with the first one, I quickly (seriously, quickly) made 3 more for a total of 4. I usually rock all 4 at the same time. I love them. They were REAL easy to make and REAL fun to wear too!


Coralie,
You have always loved making bracelets. You had fun fun making bracelets with your cousins when you were just a little girl. Remember the bracelet that lead to the trip to the ER.
Aunt Martha, No need to go to the ER- I managed to not get any beads in my nose this time! hahahahahahahahahahahahahaha
Aunt Martha- I have GOT to hear that story!!! Please tell!!