
I’m sure y’all are about as tired of hearing about my apartment painting as I am of painting… but Jojo and I finished the master bedroom and guest room/hobby hacienda this weekend and I had to share the most awesome painting trick I learned.
I knew from my research that I wanted to do a two-toned 1/4 & 3/4 wall. After the massive fail of the painters tape in the living room, I knew that if I still wanted to do this, I needed to learn how to do it right. For the record, we returned the Blue Hawk painters tape and picked up the gold standard of painters tape Frog Tape. Seriously, avoid the 3M or any masking tape and go straight for the Frog Tape.
So, as I do, I went to the interwebs. A simple “how to paint straight lines” search on Google led me to a few sites that recommended several of the same tips. One was to measure down from the ceiling often to get several points every few feet from which to create your straight line… which I did. 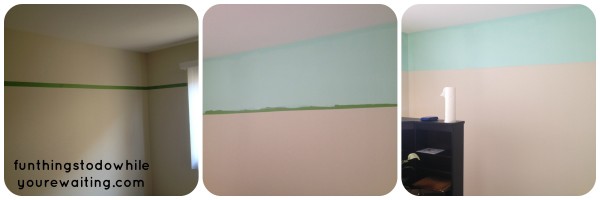
Since we have a larger second bedroom than in our previous apartment, I am so excited because we are turning it into not only Josh’s nerd-nerve center, but also my crafting room. Josh is the one who has dubbed it the “Hobby Hacienda”. I wanted colors that were bold, sharp, fresh, and energetic. I chose mint and grey… it’s what I’ve been feeling. After taping off the upper 1/4 of the room, we painted the mint coat (which is the above series of photos. We removed the tape, there was a little bit of seepage, but nothing compared to the Blue Hawk brand. But, the seepage was enough to make me cross my fingers for doing the second step.
Here is where the tip comes in. In order to get perfect, straight-edged lines with painters tape, the trick is to anticipate the leakage. What does that mean? After allowing the mint to dry overnight, I went back in, re-taped the line (with the tape on the other edge) and did a coat of mint over THAT edge. Hopefully, my picture will explain a little better… if not, then the tutorial I found the most helpful is from Little Green Notebook.
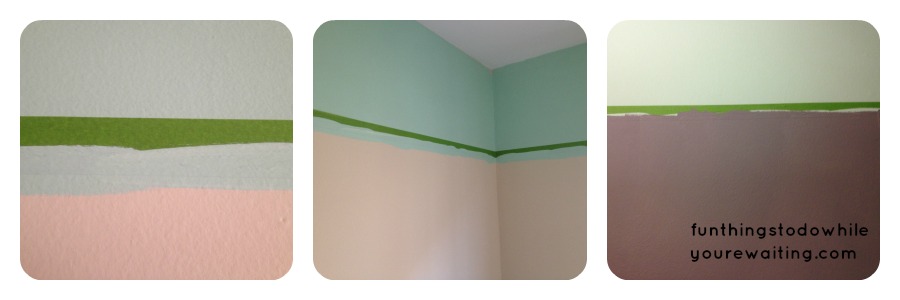
By painting a coat over the edge of tape on the line you are trying to create, you are making sure that you are creating a crisp seal and that any paint that DOES seep through will be the same color as the line you’ve already created. The above collage is after I repositioned the tape from below the line to above it and then the coat of mint that I painted on the edge. The third picture is after we painted the lower 3/4’s with a grey.
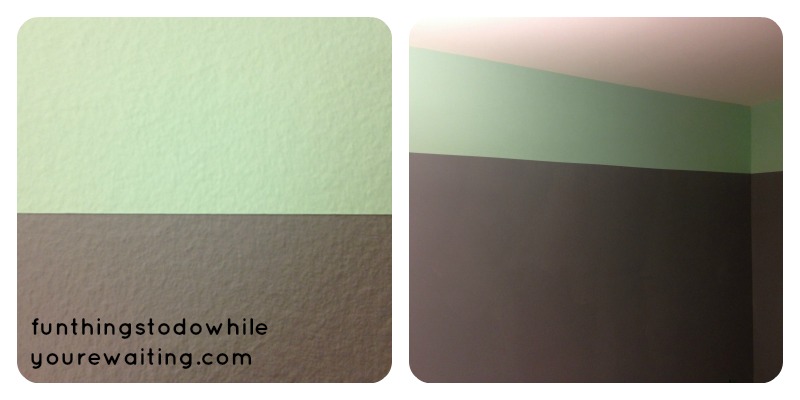
We waited about 15 minutes before removing the painters tape and Y’ALL… I couldn’t be happier with the results. In fact, I’m going to become pretty insufferable now with this tip… I can just feel it. I mean, look at this crisp line!
And although I am done with painting for the moment… I still have the bathrooms to do… and you better believe there will be all kinds of crisp lines!
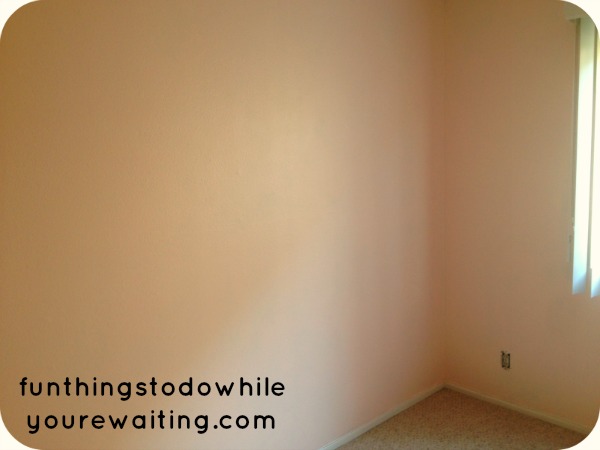
For the curious, we did the bedroom in the barest whisper of pink. Going for an old-skool glam pink/gold/cream scape… Josh’s masculinity isn’t threatened at all.
Supposedly, all of our furniture was put on the truck on Friday the 16th with an estimated delivery date of the 22nd. It will be so nice to put our furniture in our fun, funky rooms! I can’t wait to show you guys how it all turns out!


I’m reading all your paint posts on Wednesday, so I bet you’re excited all your stuff’s gonna get there TOMORROW!!! I can’t wait to see how it all turns out. I love the fabric! Hope you’re settling in an loving LA!
MC- You have NO idea how excited I am… I am so tired of only have 4 forks!!!!