As I mentioned Monday (and several posts before that), I’ve recently begun painting our apartment room-by-room in preparation for the movers arriving with our stuff. I researched and scoured the internet for tips to make painting easier. But, let’s face it… unless you are hiring someone ELSE to do it, there is no way around that fact that the first four letters of the word painting are “pain”. So, I compiled some tips that got US through the project *most of which I didn’t find somewhere else on the internet.
- Acknowledge the learning curve. Unless you paint walls on the reg, there is a high likelihood that it has been several years since the last time you painted. Your ease of activity is directly related to how often you practice it… so, make sure that the first wall you paint, tape, and edge isn’t one that is a focal point of your room; think of it as a warm-up wall to get back into the rhythm of painting. ‘Cause you’re gonna mess up… might as well make it on the wall that sits behind the entertainment center.
- Play to your strengths. After the first two walls of the dining room, I realized that maybe Jojo should be doing the large swathes of rolling work and I should be doing the detail brush and touchup work- instead of the other way around. We started the project with me muttering under my breath, “sometimes bad help is worse than no help.” But, you know what? That’s totally not true. Help is help. It is just finding the right job for the right person. And by the end of the weekend, we were a well oiled machine!
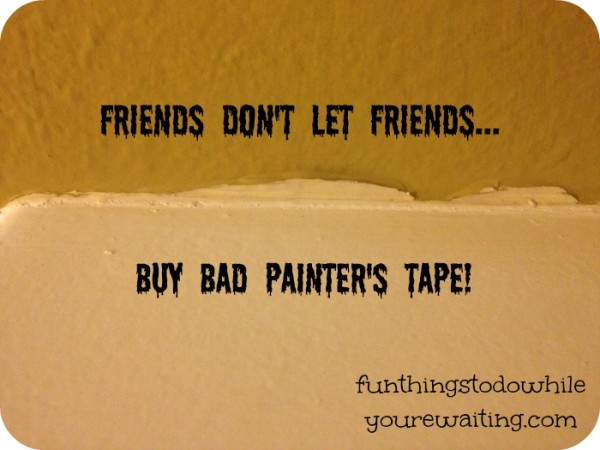
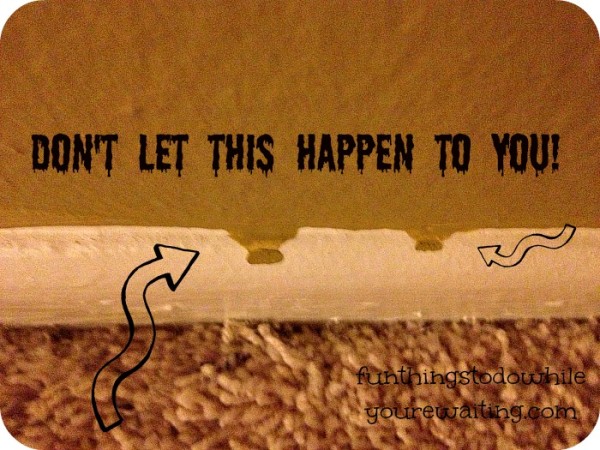
 In painting, there are some things that are worth the extra money… like painters tape. We went with the lower end “Blue Hawk” brand and what we saved in money will be made up for the amount of work I am going to have to GO BACK and do to clean up spots where the tape didn’t adhere and there is seepage or where it adhered too much and ripped up my new paint job. According to the interwebs, Frog Tape seems to be the way to go. I’ll let you know Friday as I am returning all of the Blue Hawk brand. Also, detail brushes are something you should try and get on the higher end of the scale. You don’t need studio quality brushes, but the schoolroom craft brushes fell apart- literally… not only did they leave bristles everywhere, but when I was cleaning them after the first day, the handles broke on two of them.
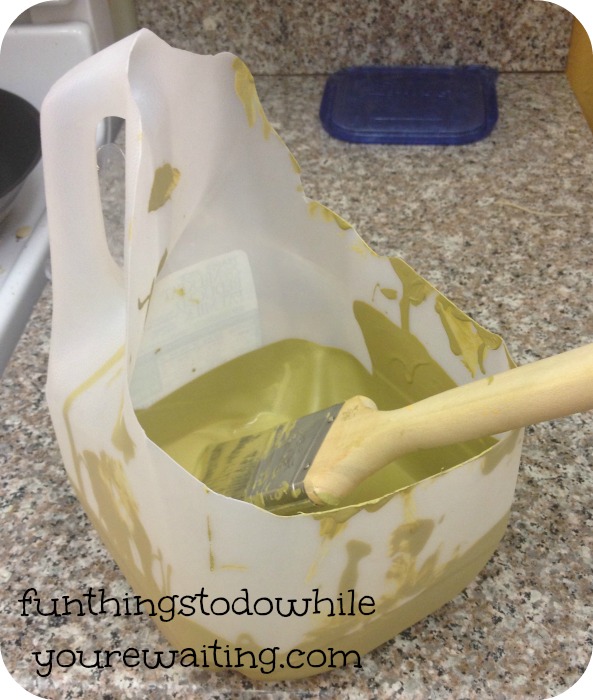
 But, there are also some things that you don’t have to spend money on, at all. Why on earth would you spend $10 on a 1-quart paint pail to carry around to do touch-ups? A red Solo cup will work. Better yet, do what I did and modify an empty milk jug from your recycling bin… Or cut the top off the margarita mixer bottle from Trader Joes! Reusing rules! Just make sure its clean and dry before pouring paint in it.
- Paint itself isn’t something you should skimp on… but you also don’t have to get the highest end stuff either. With paint, you want to go middle-of-the-road. Coralie actually taught me this… and she’s right. If you buy cheap paint, you will end up spending MORE money because it takes more coats to cover your wall. You do NOT, however, need to buy the Eddie Bauer Deluxe Home bladdy-blah paint because middle-of-the-road paint comes in all the same colors. We went with Valspar and were totally pleased.
- Put your painting operation on a table. This is a trick we learned after waking up on Sunday with sore backs. Painting is stressful on the body no matter how you slice it… so why not make it easier on yourself by bringing the operation up a foot and a half. Make sure you have a wide surface that isn’t precarious, cover it with a drop cloth, and go for it. We used our coffee table the second day and not having to bend down to the ground a thousand times really helped.
- Keep paper towels (wet and dry) and a trash can handy… for there will be accidents. Whether it is a drop of paint on the one piece of linoleum that the drop cloth didn’t reach, or you were jamming too hard to classic Billy Joel to notice that you totally painted that door frame, you are gonna need some papertowels. Plus, with a trashcan handy, you can lessen the massive end of the day cleanup by doing some of the small stuff along the way.

- If you are going to get a fancy time-saving device, learn how to use it properly. We picked up an edger which ended up saving us a lot of time… eventually. When we first started using it, we just dove right in, dipped it in the paint and slammed it up against the ceiling… aaaaaaand that is why our dining room ceiling is also covered with melon-colored paint. Once we got the hang of our edger, delicately applying paint to the pad avoiding getting paint in the rolling-mechanism, we were golden! If you don’t know what you are doing then you aren’t really saving time at all.
- Which brings me to my next tip… buy a small container of whatever color paint your ceiling and trim is. For us, the ceiling and trim is white… and thanks to the cruddy painters tape, I’m going to need to do a lot of touching up work in the living room.
- Know that you are not going to feel like cooking dinner at the end of the day. Go ahead and get that Domino’s coupon handy… because painting is a full-body workout and the last thing you are going to want to do is fix dinner.
- Figure out which cleaning battles you are going to want to fight. If you are looking to save money, then you can pretty much clean and reuse ALL your painting supplies: trays, roller covers, plastic drop cloths… But, cleanup is also a lot of work and after painting all day, after another hour of waiting for the water to run clear on your rollers, do you really want to tackle cleaning the paint off of a $0.75 tray liner? That just isn’t a fight I want to have.
- Last but not least, if you have specific questions, talk to the paint guy. Chances are, he’s going to know exactly how many buckets of paint you need, whether or not those rollers are linty, or if the Churro guy in the parking lot is legit. Because… it IS his job, you know. Though this may not always be the case. Use your better judgment.
Now that the list is compiled, only one of these tips was blatantly cribbed from the internet. Go me! So, let my mistakes help you to avoid any of your own… or at least some of them… because, again, you WILL make mistakes.
Do you have any tips I didn’t mention? As always, please share your time-saving tips!


Leigh, these are great! I have one to add to your list, although I am not sure if “they” have mentioned it or not. Bub and I have bought and will continue to buy nicer brushes which we dutifully clean. However, rollers- we buy not the cheap-ohs, but on the south side of the middle of the road because we generally don’t reuse them. But, let’s say a paint job turns into a 2 day affair- I stick the wet roller or wet brush into a plastic grocery bag and put it in the fridge until I am ready to paint again, whether it be later in the day or even the next day or day after that. I mean, no need to clean a brush or throw away a roller if I am going to paint with the same color later.
I just hate it when paint drips down and spoils your efforts. I have learnt to let the tapes be on for longer in order to avoid this problem especially while doing stripes.