I’m getting this post in just under the Monday wire. My apologies to anyone who noticed/care. I am currently in Georgia. I tried diligently to pre-emptively get my posts done for this vacation since I know that writing while I am traveling is difficult. I did a pretty good job in getting posts banked in advance… except for today. And while the post is last-minute, the concept is not. In fact, today marks the first day of a week of themed posts. This week, Coralie and I are making amends… not so much in the apologetic way, but in the “we are always striving for excellence and are updating some previous posts” kind of way. There are some posts which, after they have been published, we have honed and figured out a BETTER way to do them. This week is all about that! This week we have picked four previous post topics from our archives and updated/amended them and are sharing our better versions!
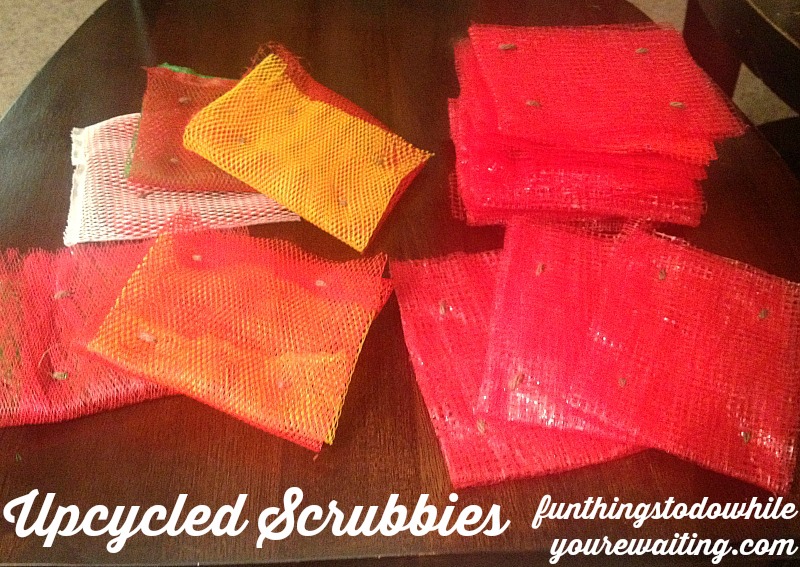
Today, I am picking one of my favorite previous post/things: the up-cycled dish scrubbies made from webbed produce bags. In the original post, I had collected the bags and nested them within each other… and it worked great. Though I noticed, after much use, that the bags would un-nest themselves during dish-washing and I would find rando bags scattered across my sink (or in the dispose-all). And although they were still super-effective, I kept thinking there had to be a better way to keep the scrubbie together. So, today, I want to share with you guys my solution to improve these awesome up-cycled scrubbies!
After my initial post, Josh and I began saving ALL of our produce bags. After several months, we had accumulated many many bags- sweet potato, ginger, garlic, shallots, avocados… ALL OF THE MESH BAGS! From using the original nested version, I knew that I didn’t need to use ALL the bags to wash dishes. In fact, two or three bags worked better as they rinsed faster. I also figured out that I really only needed a scrubbie that was roughly the size of my palm. I reasoned that if I somehow fastened a few netted bags together at the corners that it would truly make these scrubbies perfect!
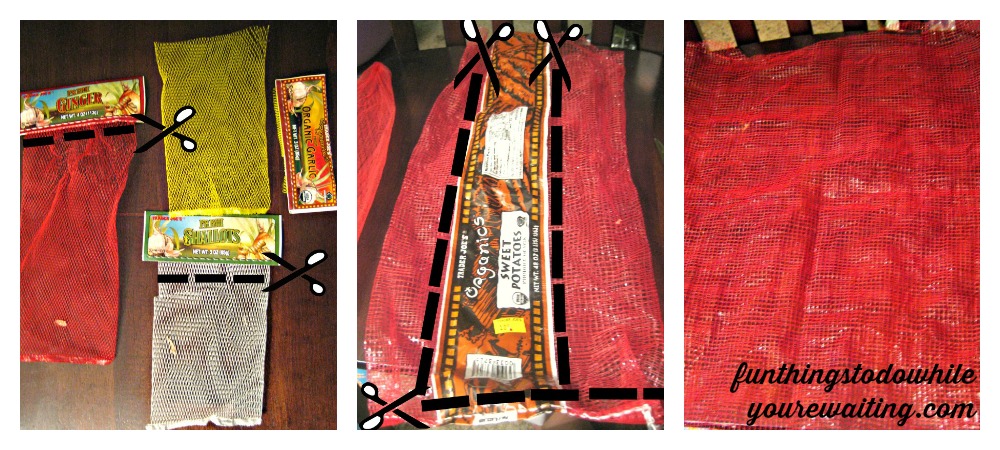
I started by cutting all the paper tags off the bags (as shown in pictures one and two). On the smaller webbed bags, I kept the bottom seam. On the larger bags, along with any paper labels/packaging, I also cut the bottom seam and made the bags into one big sheet (picture three). Once all the bags were prepped (removing any produce skins that were left in the bags), I folded the sheets made from the larger bags in half four times. I then cut the sheet in half- creating two scrubbies.
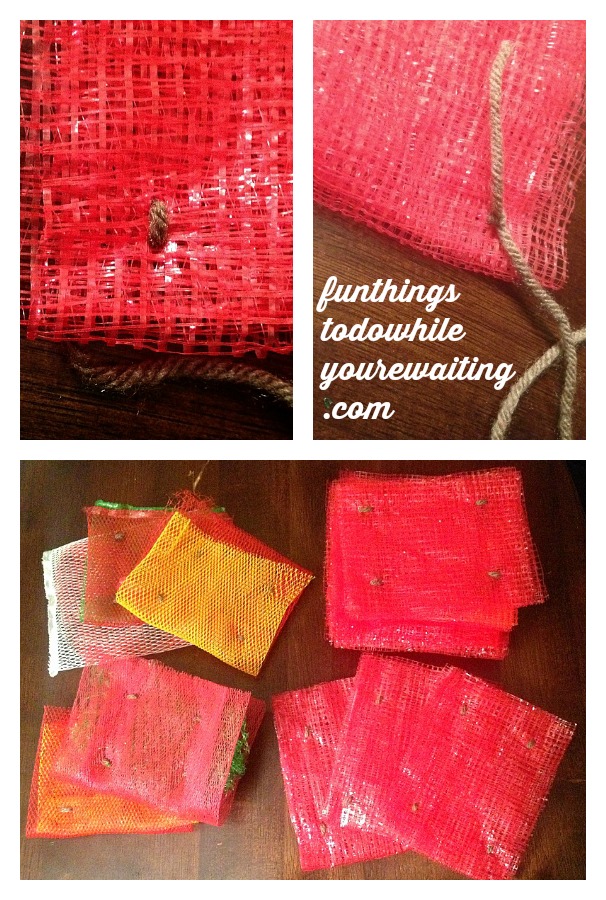
I then addressed how to keep the scrubbie together without closing the sides- which would prevent food from escaping the net. So, I used some yarn from my yarn stash (y’all know how much I love busting my fabric/yarn/craft stash), a large plastic/child’s needle (though anything large enough to thread yarn would do) and did a simple stitch in each corner of the scrubbie. I thought about doing a more decorative stitch, or using a prettier yarn, but these are dish scrubbies… not art.
For the smaller bags, I just nested one within the other and stitched the four corners. I trimmed the edges to make them neater, but it wasn’t completely necessary- unless you are slightly OCD, like me.
I think they are super cute. I have them all stored under my sink ready for deployment. SO MUCH EFFECIENCY!
Thanks for reading and get ready for a whole week of amends! What do you think? Did you try out the original idea? Would you try the improvement? As always, let us know!!!
This post can be found at the following linky parties:


I think these homemade scrubbies are pretty clever!