I couldn’t write today’s post without acknowledging how moved I was by the outpouring of love regarding Coralie’s post yesterday. Our readers really are the best, and I just wanted you guys to know how much it is/was appreciated. I’m sure Coralie will say much the same on Thursday, but you guys are awesome and I can’t express how good it feels to be reminded that even though there is so much pain out there, there is also so much love in the universe. All that being said, here is today’s post:
I don’t know about y’all… but when I find something I really like, I get one in every color (or at least all the colors that look good on me). This especially holds true for t-shirts. Before I discovered the magic that is this stain remover, I had a lot of cotton T’s that weren’t wearable in public due to grease spots. I had gone crazy at Target one Spring and had bought like 7 shirts all in the same style but in different colors. I rocked them until they had a grease spot and then threw them in the “do something with this fabric later” pile. I hate throwing away fabric since you never know what you can do with it later- it is one of the joys and curses of owning a sewing machine.
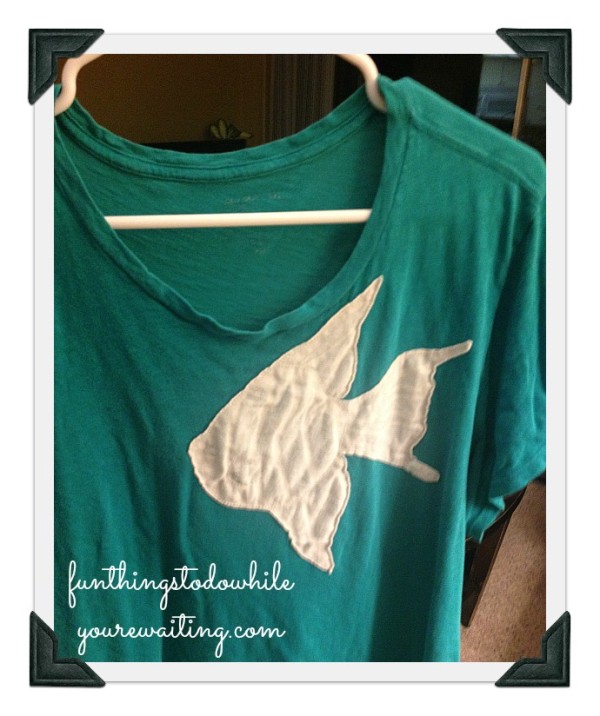 I had this other great shirt that I had bought at Old Navy years ago (to the right) that had an angelfish appliqued on it. I had always thought to myself, “Self… you could totally do that!” So, (you can probably guess where this is going) I did.
Appliqueing basically means stitching a cut-out piece of fabric on to another piece of fabric. As far as crafting projects go, on a scale of 1-10, this is probably a 4. This project requires a sewing machine (or not, if you are really, really patient and master the back stitch), straight pins, thread, a contrasting material in jersey, and any pattern of your choosing. As with my other t-shirt mod, I like to work with jersey because it doesn’t require any finishing work; no hems, seam allowance, or any of the other tricky sewing stuff. So long as you get your stitches close enough to the edge, but not TOO close, then the edge just kind of rolls up on its own. For my contrasting material, I used a t-shirt (the same style as the other) that had several bleach spots on the bottom of the hem.
The project is really just as simple as picking out a shape (in this case I chose this awesome octopus), cutting it out carefully (jersey stretches so make sure it doesn’t move while cutting), pinning it to your main surface, and attaching it strategically. I’ve always been a big fan of the octopus (as they are super smart and graceful- DON’T EAT calamari!) and scoured the internet for a picture that when cut out would create a fetching, and recognizable image. I found mine at a tattoo parlor website in their portfolio section. I then printed the image out and figured that I wanted it bigger so I blew it up with the help of my scanner and re-printed it. Below is a scan of my pattern:
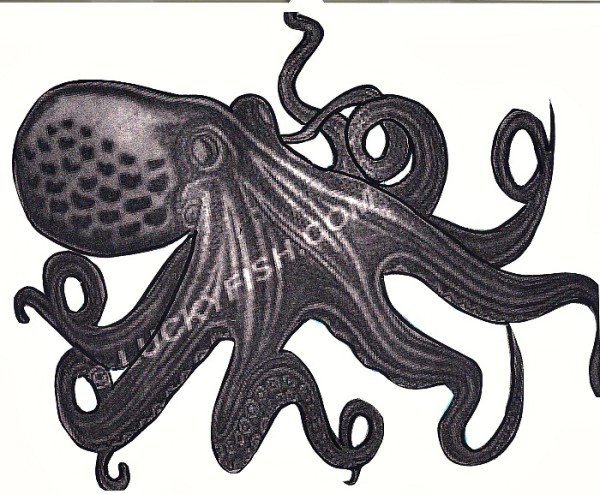
Once you have your image in the right size, cut it out and pin it to your contrasting fabric. As mentioned above, pin it frequently because the jersey is going to move it move it. Cut it out CAREFULLY making sure to give the jersey enough room to lay flat. It takes a second to get a feel for how it moves when you are cutting, so you may want to do some test runs with scraps if you aren’t super comfortable with the technique. Once you have your shape cut out, play with where you want it on your shirt. I placed mine over a large grease spot- which was the whole point of the exercise! Once you’ve got it where you like it, pin it gently (again, being cautious of the stretch of the jersey on BOTH fabrics) and pin it frequently. Pin it more than you think would be necessary. OVERPIN that thing! Once you get it under your sewing machine foot, you aren’t going to want to get back in there to constantly adjust. I sewed mine on with a similar colored thread in a tight, small stitch– though you could also do it with a contrasting thread which would also be cool! If you have a shape with lots of turns and curves (like my eight octopus legs) go slowly and proceed with caution turning your fabric frequently.
And that’s it. It’s a pretty basic sewing project and I think you get a lot of bang for your buck. I was able to save a t-shirt from my craft pile and utilize another in making TWO t-shirt mods! Here is the finished project:

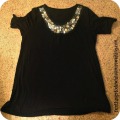
And here is a second t-shirt mod based on a J-Crew tee that I made from the same contrasting fabric from a tutorial from one of my favorite blogs: Adventures in Dressmaking. If you are into t-shirt mods, she has some great ones, so be sure to surf around her site. I used the same style tee (but in a different color) as the octopi one that had a stain on it and it was also saved by a mod!
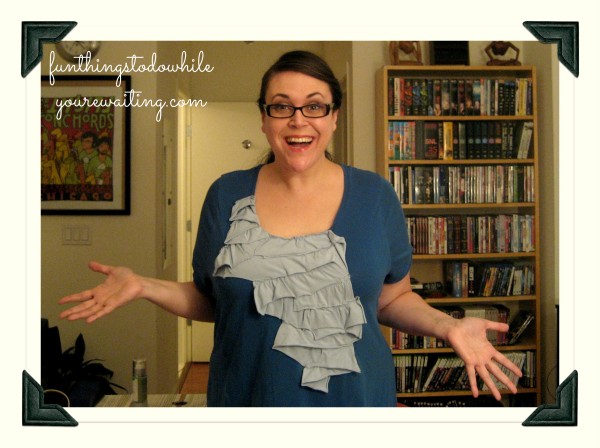
Really, the t-shirt mod world is your oyster. There are SO many things you can do with a t-shirt; breathing new life into old ones and making new ones your own. I have a couple more t-shirt mods that I want to tackle, so look for those later! But, there is no reason to pay big bucks for t-shirts from Anthropologie or J-Crew that have treatments that you can totally do yourself.



LOVE these!!! I wish I had the time (or the talent) to do this!!! Christmas present to me? 🙂
So funny. I was just thinking this morning that if I was planning on doing a ‘homemade Crimmus’ then I needed to get a move on!
Really cool, Leigh!! They both look great!
Janey B! Thought about you late last night. Have you watched the show, “Call The Midwife”? It’s another BBC import, like Downton Abbey, and I really enjoyed it. Great writing. Set in the 50’s, post-war London… thought it was right up your alley. All streaming on Netflix if you even have TIME to add another tv show to the queue! Like all BBC shows, there are only like 5 episodes a season, or something short and ridiculous, so not a huge commitment, but really moving stuff!