Generally, you know what level of cook you are. You may be the kind of cook that struggles to boil water or you may be the kind that can make grass cuttings and gravel rocks taste great. I would say I am somewhere between the two. That being said, you should also be able to discern which recipes are out of your league and which ones are easy-peasy.
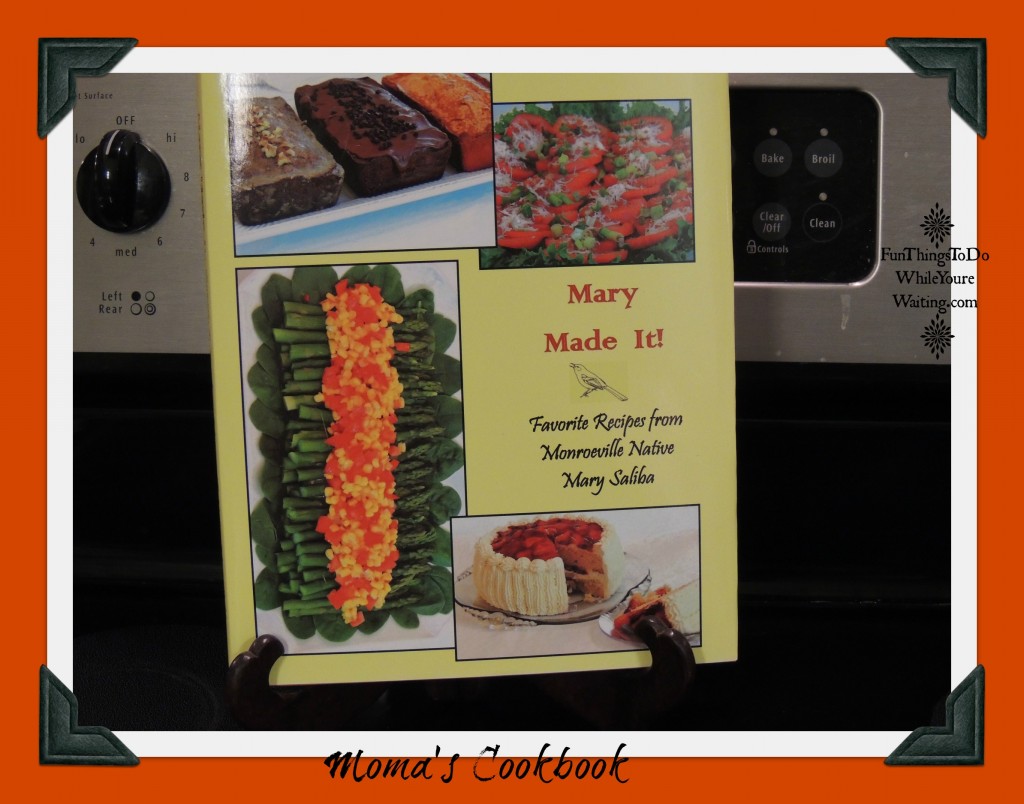
I was feeling froggy. I wanted to try a recipe out of my league- after all, that’s how you get better- push yourself and I had had my eye another of my Moma’s recipe’s from her cookbook. I wanted to try the caramel icing recipe and of course, not the easy caramel icing recipe but, the advanced one. I mean, if done right, caramel icing is just so decadent. And I want to be a cook that can do caramel icing. My great-grandmother used to put it on her pound cakes and I am just a plain sucker for caramel cake.
So, I took a look at the ingredients
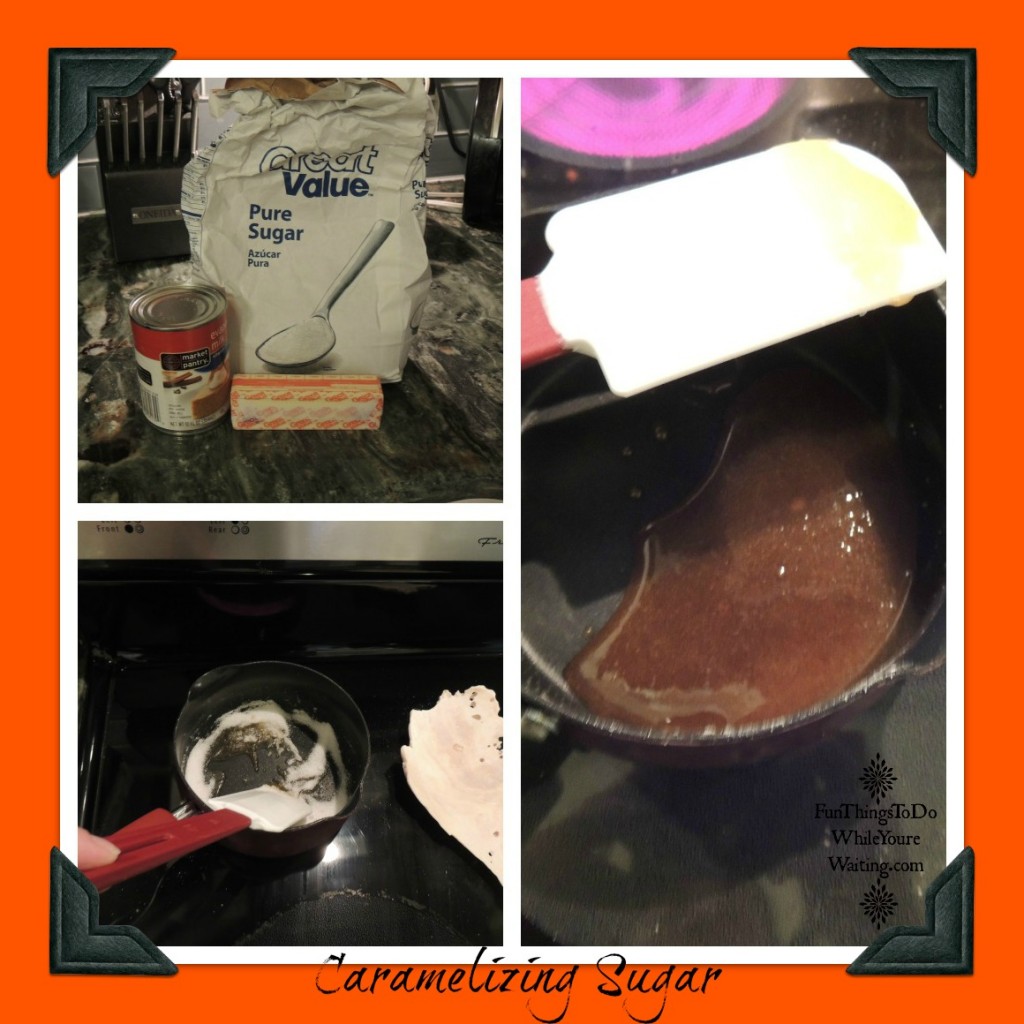
- 4 1/2 cups granulated sugar
- 2 (5 ounce) cans evaporated milk
- 1 cup (2 sticks) butter
I had them all! It was a go! I did decide to halve the recipe because I only had 2 cake layers stashed in the freezer. Yes, you can stash cakes or individual cake layers in the freezer and when they thaw, you would never know it had actually been baked weeks or even months ago. I had 2 cake layers left over from the birthday cake my mother made me when she was staying with us after Baby Bub was born. (Baby Bub’s birthday is a week before mine and my birthday is 2 days before my Moma’s.)
Back to the icing, the instructions say to brown the sugar over medium heat stirring until it turns a dark caramel color. I had never done this, but you just put the sugar in a sauce pan and stir and it just magically starts to melt and turn a rich caramel color- what do you know?!! So far, so good.
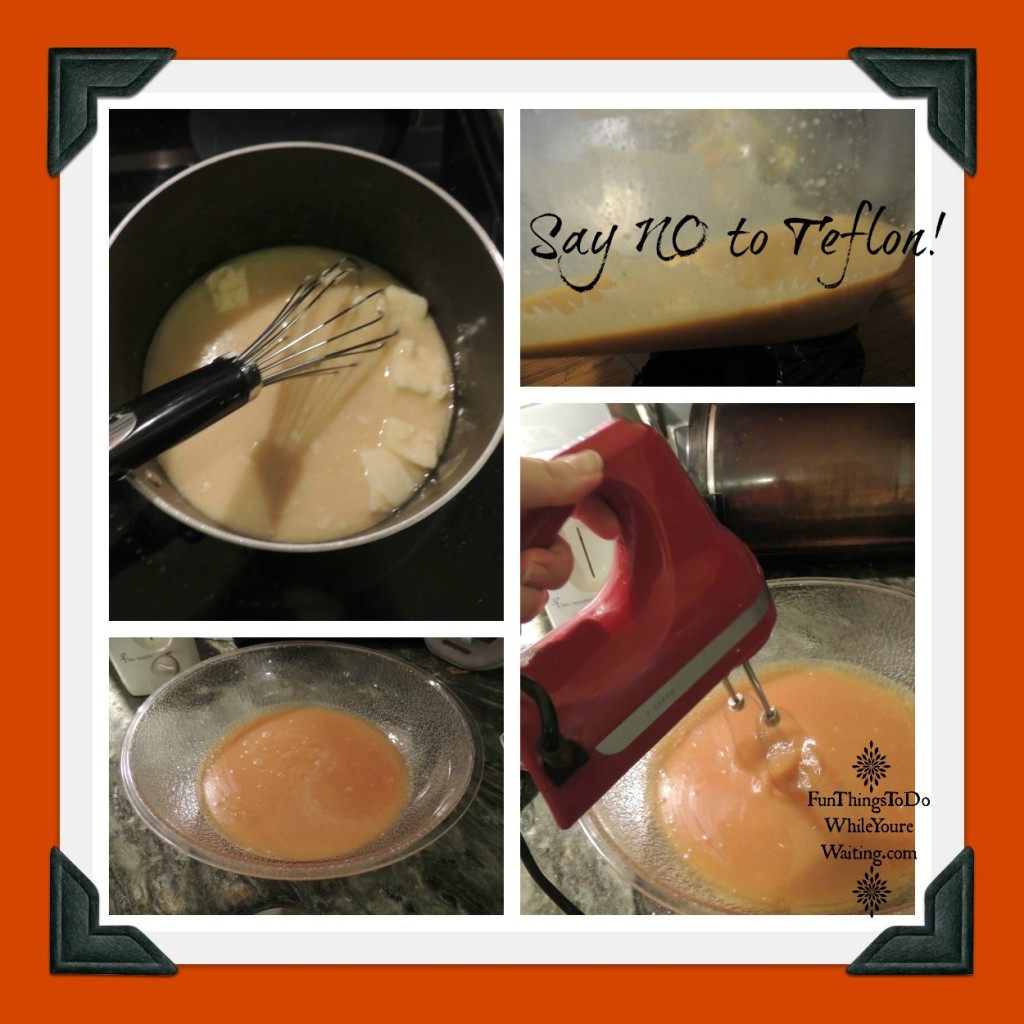
Then the directions say in another pot combine the other two ingredients (the butter and evaporated milk) and bring to a boil stirring constantly. This did call for a bit of ambidexterity- but, I had it going.
And then you add the caramelized sugar to this boiling butter slash evaporated milk mixture and continue to cook for another 3 minutes stirring constantly. Then set it aside and let it cool for about 10 minutes…I had made it this far! And then I saw them… the specks of Teflon floating in my cooling pre-caramel icing. You can’t really see them in the picture- but, I put it in the Zip Loc to throw away. I can’t eat Teflon- even if it does taste like caramel icing.
It is at this point that I would like to tell a side story. When Baby Bub was born, one of my best friends came to take care of us. At one point, I asked her to cook me some mac n’ cheese while I hopped in the shower. I just wanted some Kraft (in a blue box) macaroni and cheese. After scoffing at me and exclaiming she didn’t know how to make that because she doesn’t cook that, I told her to follow the directions on the side of the box. When I got out of the shower, she had it made… except she had used a metal fork to stir it in my Teflon coated pot and there were little Teflon flakes in it- oh Lord. I should have thrown that pot away then but, for some reason, I didn’t. Fast forward to caramel icing and me using the whisk- and there you have it. First batch of caramel icing in the garbage. The moral of this story: keep metal utensils far, far, far away from non-stick, Teflon coating. Alright, again, back to the icing.
After 60 seconds of loosing my grip, that is, my grip on my mental sanity, (did I mention I was on the phone the whole time with my Moma) I decided that making caramel icing had not gotten the best of me! I was determined to be a cook that can. do. caramel. icing! I had just enough of the ingredients to go at it again. So, I got back in the saddle, went through all the above steps and got to the part where you are supposed to let it cool for 10 minutes- I jumped through all the caramel icing hoops and made it back to where you let it rest for 10 minutes.
I let it cool longer than 10 minutes- closer to 20 minutes. And then I got out my hand mixer and mixed and mixed and mixed and mixed.
And mixed some more! I tasted it, it tasted right. I seriously thought I had mixed enough but… not so much…
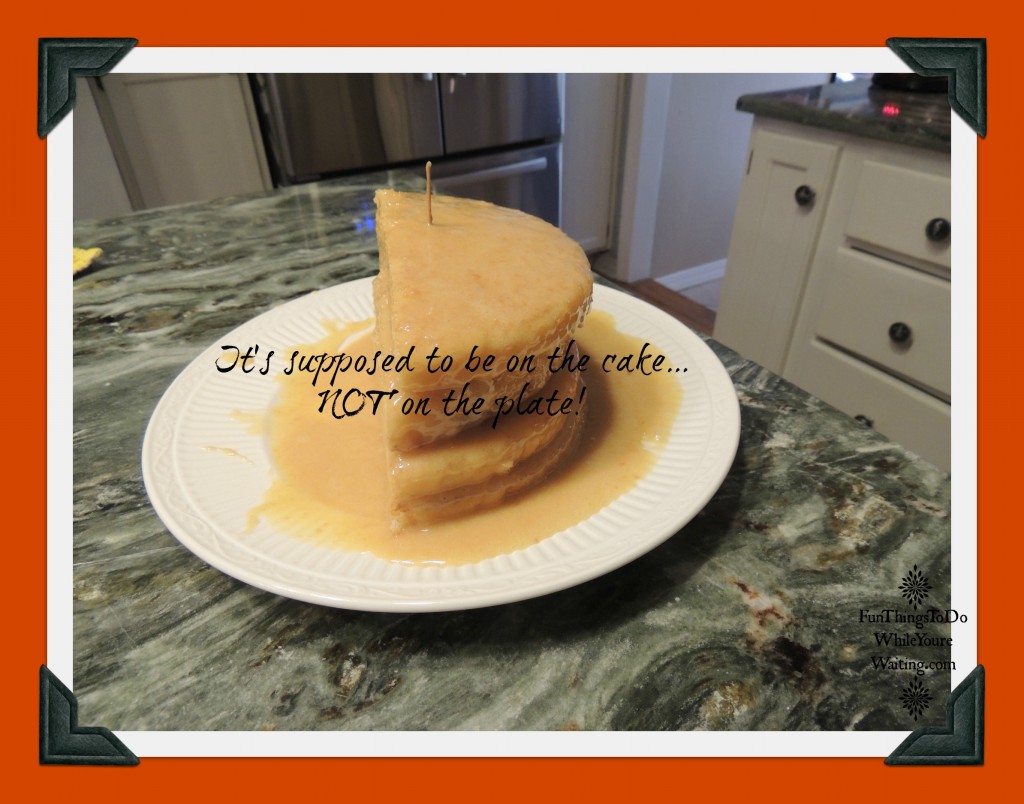
(Notice all the icing on the plate- it’s supposed to be on the cake!)
Weeelllll, you win some and you lose some. I guess it is a little harder than I anticipated to step up and out of my league. Although the 2nd time was not the charm, I will certainly come back to this not so easy caramel icing. I will master it someday. Maybe I should start with mastering the quick and easy caramel icing recipe in Moma’s cookbook before I tackle this one (again).

