So, this is kind of funny. I’m writing the admin intro for my own guest post. A few months ago, Coralie signed us up to guest post on another blog during their “Crafting for Baby” series. We did. It was a hit! They requested that we wait a few weeks before re-publishing the post on our own blog… so, we did. But, here it is! It’s near and dear to my heart so I wanted to share it with FTTDWYW, too. Here it is in its entirety.
Hi, Everybody! It’s Leigh here from Fun Things To Do While You’re Waiting! I’m the one on the left! Fun Things To Do While You’re Waiting is lifestyle blog run by my way-back-highschool-bestie Coralie and me. We 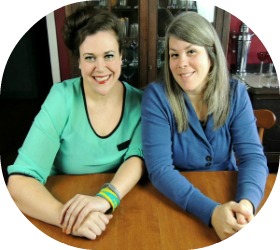 talk about a little bit of everything on our blog: clean recipes, think-pieces, and DIY Lifehacks… to name a few. We also talk a lot about crafts. We are both lovers and artisans of an assortment of crafting mediums- from Appliques to Zippers… and everything in between. When Coralie signed us up to Guest Post for Someday Crafts “Crafting for Baby” series, we put our heads together about what craft we could share with y’all. The submission request was for an original/never-before published idea for a baby craft. A lot of previous baby crafts I had made (like the Star Trek: TNG Captain’s Onesie) were variations on already published themes. But for the Someday Crafts audience, we wanted to do something really special. So, without further adieu, may I present a FTTDWYW original craft: Personalized Wall Medallions.
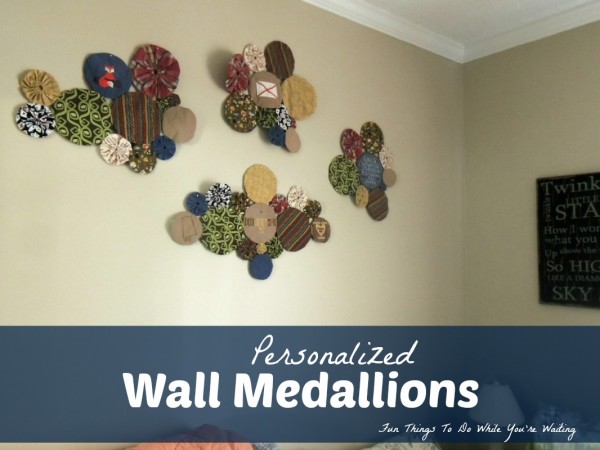
As Coralie was/is one of my closest friends, when she told me she was pregnant with her son, I knew I wanted to create something special for her and her baby. I wanted to do something of heirloom quality that could be used more than just once. As I had learned my lesson about never making hand-crafted baby clothes again, I searched the internet and Pinterest for ideas. I wanted something versatile that would grow with the baby. I had recently finished a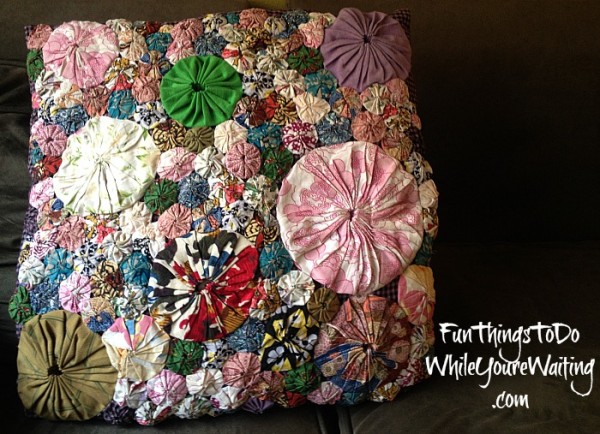 scrap-busting, decorative pillowcase project for our couch made by connecting yo-yos. If you aren’t familiar with them, yo-yo’s started as a popular quilting technique in the 1920’s. There is a great tutorial for making yo-yo’s here at prudentbaby.com. Although most quilters make uniformed-sized yo-yos, I found that I really liked the look of varying the size of the circular templates. Do you see how some of mine are larger in the photo above? Not only that, but I was also inspired by the blank canvas that was the BACK of the yo-yo that was disappearing from view when assembled traditionally.
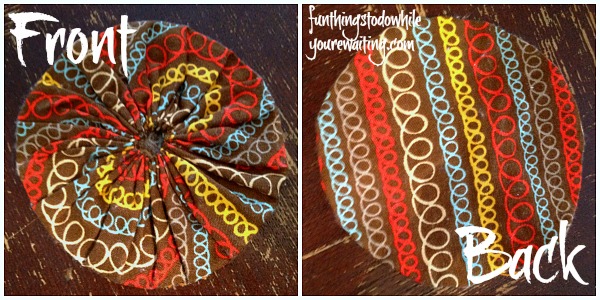
See? Look at all that room on the back of that yo-yo! As I had recently taught myself the art of hand-embroidery by closely following Jenny Hart’s amazing book Sublime Stitching- Embroidered Effects: Projects and Patterns to Inspire Your Stitching, the idea of merging the two crafts struck me as a super idea.
My original concept was to make a baby quilt made of both plain and embroidered yo-yos. I went to my local fabric store and picked out several different fabrics that I thought would be versatile, fun, and perfect for a boy’s room. I also used some left over fabric from dress shirts and khakis my boyfriend had outgrown because I love re-using things… almost to a compulsive level. Something I had learned from the above pillow project was that certain fabrics, although beautiful, do not make good yo-yos. So, choose your patterns thoughtfully. I played with various circle template sizes, enlisting everything from a 7-11 Big Gulp cup to a large salad bowl. For the embroidered pieces, I knew I wanted personalized information both about the baby and his parents. I researched fonts and animal patterns and hand-drew patterns with an water erasable fabric marking pen onto pieces of yo-yo fabric that had not been cut into circular templates yet. Once I had hooped, embroidered, and then unhooped the piece, I would then center the template over the embroidery pattern, cut, and then stitch into a yo-yo.
Over the process of weeks, I stitched ALL OF THE YO-YOs and vowed I would never do another yo-yo project. As I began laying out the embroidered yo-yos to see how I wanted my quilt to shape up, I noticed that I actually really liked the organic way the yo-yos were forming around the embroidered pieces. I began hand stitching the yo-yo’s together by inserting a threaded, knotted needle inside of the hole of the completed yo-yo exiting the yo-yo on the circle’s rim. Using a hidden stitch, I began attaching yo-yo’s around all of the embroidered medallions. As the pieces began to grow, I kind of grew to love the look of them on their own, not muddled together in a quilt. And since fabric, nursery wall art is a thing, my quilt became wall art and I couldn’t be happier with stepping outside the crafting box. After connecting the yo-yos in the pattern to my liking, I stitched loops on the back of the pieces to make them easier to hang.
For sake of anonymity, we have blurred out some of the personal information in the below pictures, but we think you can get the idea. What makes this project so versatile is that it can be made to suit any child. You can change the colors or the embroidery to what ever your heart desires. The options are limitless.
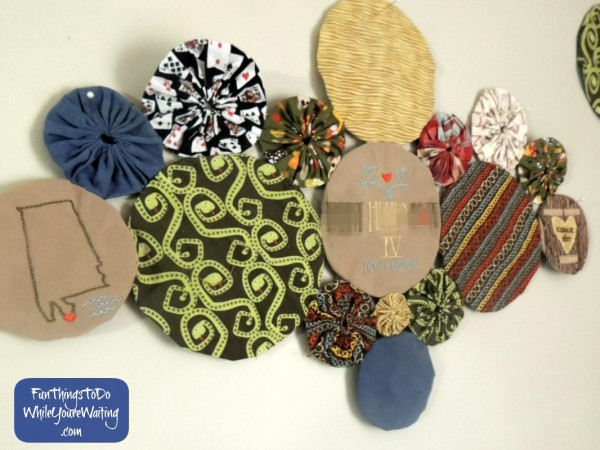
The above was the centerpiece of the collection. I embroidered the baby’s name and birthday on the center yo-yo, and made two additional embroidered pieces: one of the state of Alabama, with a heart over Gulf Shores (where they reside), and another with the parents names, birthdays and wedding date “carved” into a tree. 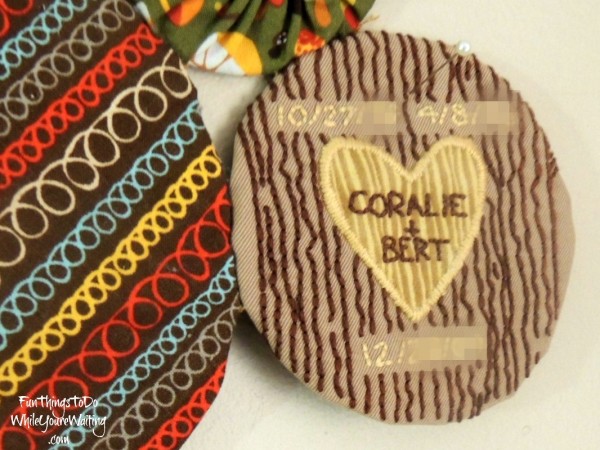
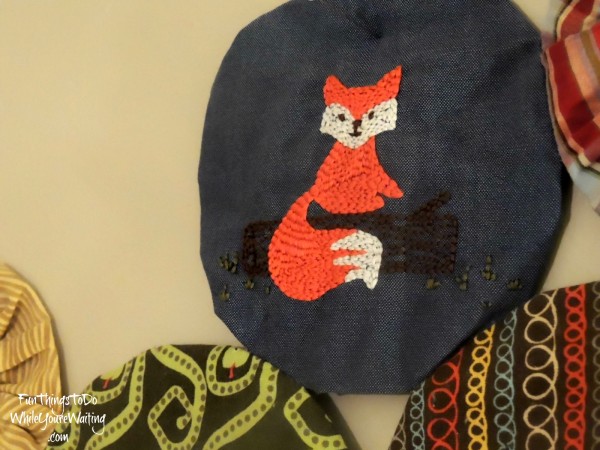
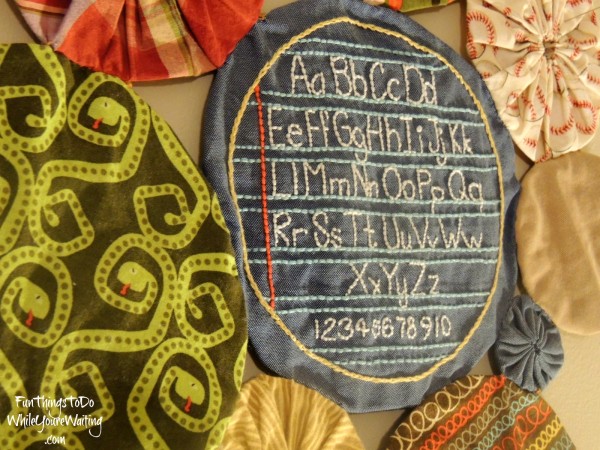
For the other “medallions” as I began calling them, I stitched a cute, woodland fox, the Alabama state flag, and an alphabet sampler.
I mailed them to Coralie for Christmas (two months after the baby had been born, and loved what she did with them. In fact, she is the one who took most of these pictures! Despite me living in Southern California, and her living in Southern Alabama, our blog is marvelously collaborative!
Thanks for reading! And please come visit us as Fun Things To Do While You’re Waiting!