
There are some projects that I am not real comfortable doing myself. A big chunk of those are anything that have to do with electricity. Lucky for me, Bub is pretty handy with dealing with electricity- his dad was an electrician. And I have come to realize that changing out light fixtures is not too terribly difficult.
The light fixtures in our master bath- I believe probably were picked out and installed in 1985 when our house was built.
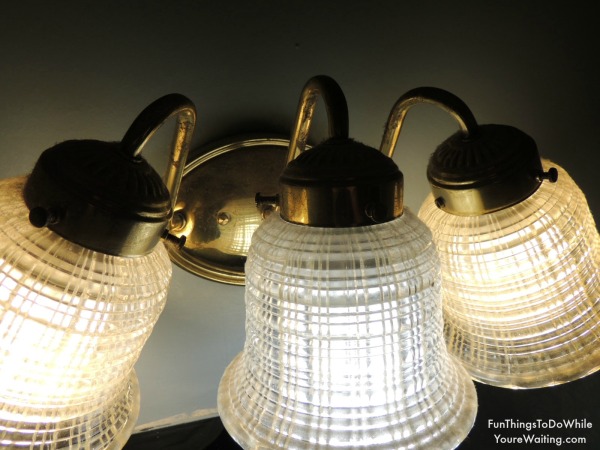 My original plan was to spray paint this old one and get new globes and call it a day. However, by the time we bought spray paint and new globes- times 2- because this one’s twin was in my dressing room- it made sense just to buy new ones.
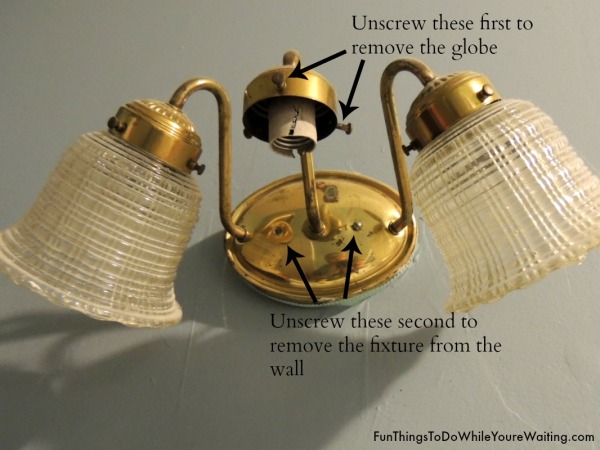
Now, to take this bad boy down, first the middle globe was removed by unscrewing the screws where the globes connect with the brass fixture. And then the 2 screws in the middle of the fixture had to be unscrewed.
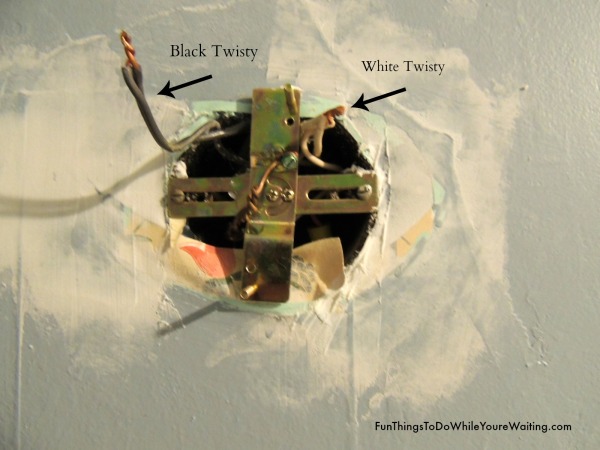
When you unscrew the light fixture from the wall, you will see wires, white and black in this case- make sure you have turned the light switch off and then just untwist them. You will also be able to clearly see the mounting bracket. I had to go back and consult with Bub about the mounting bracket. The new light fixture should come with a mounting bracket but the old one may work just fine. All there is to a mounting bracket is 2 screws. Bub has replaced this one. (He has also done some calking to cover-up nasty wallpaper scars.)
 From this point forward, everything that has been done has to be done again but in reverse. Match the same colored wires in the wall with those in the fixture and twist them together. The colored cap, called a wire nut, helps twist and keep the wires twisted

Next, screw the light fixture into the wall via the mounting bracket and then screw the globes onto the light fixture.
 These globes screwed in a little differently than the old ones but pretty simply nonetheless. They came with a nut to secure the globes to the light fixture. Instead of the 3 screws on the outside, the new fixture came with a nut to screw on the inside of the globe.
And finally, viola!
 Yes, it was a fairly simple update that made such a big difference. Like I said, we also replaced the light fixture in my dressing room with one exactly like this one by following this same process. From start to finish, replacing both took about an hour.
Are there any simple updates that you have done that created maximum impact? As always, we wanna hear about them.
Update 4/22/15: These light fixtures still look great and match the door handles.


3 Comments