
Since the beginning of my adventure down the Pinterest rabbit hole, I have seen pins of adorable, painted plastic-animals adorning the lids of glass jars. Once painted, you can use them for storing ALL OF THE THINGS! I have shared my obsession with organizing containers with you before and this seemed like such a simple project with a such a big payoff. Plus, I got to re-use something, and y’all know how much I love to Re-Use That Thing. All of the pins directions seemed simple enough: glue animal on glass jar lid. Paint. Done! Easy, right? Let me tell you… this “simple” project took me months. MONTHS! My sanity was even questioned… but, we’ll get to that later. To The Pintesting Lab!
Most of the pins on Pinterest regarding this craft linked to photo-files only, or sent me somewhere with less than helpful directions. All of the descriptions of the craft mentioned “picking up cheap, plastic animals in thrift stores or at the dollar store.” So, whenever I would go to a thrift or dollar store for other things, I would always keep an eye out for small, plastic figurines hoping to score a pile of them for chump change. I’m kind of a professional thrift-store picker and in all of the stores I’ve been through in Southern California, I never found this mythical bin of discarded plastic animals. After months had gone by, I noticed my local Michaels Craft Store had restocked their diorama figurines section and I found a tube of plastic animals for $10. After using a coupon, I got them all for about $6. Not a super steal, or a dirt-cheap find, but acceptable.
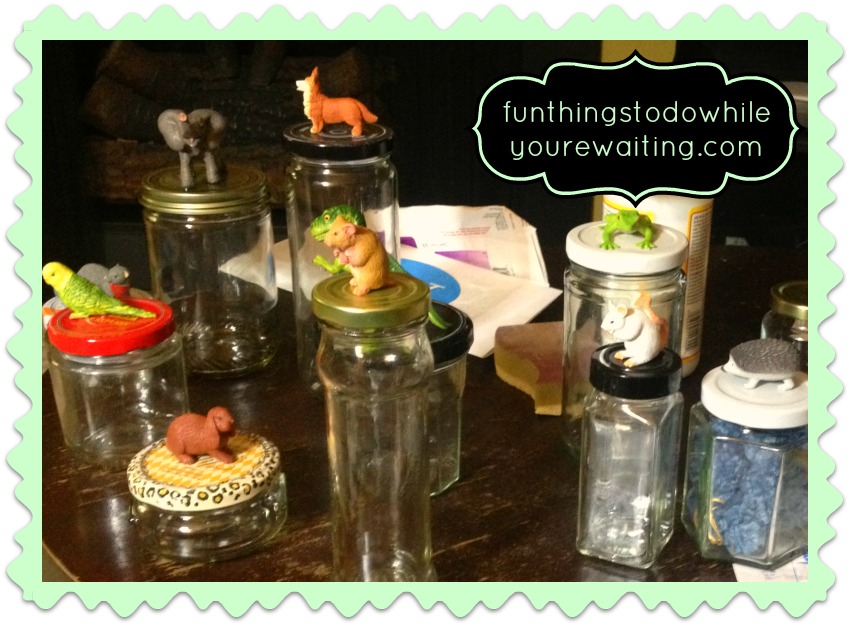
All throughout this time, in preparation for this craft, I started saving glass jars and their corresponding lids. This part was ALSO more tedious than I expected. Not only do you have to vigilantly remove all food stuffs from the glass jars, but you also have to remove all the labels and adhesives. Since I didn’t know what size animals I would find, I washed and saved ALL of the glass containers coming through our house: peanut butter jars, spaghetti sauce jars, bacon bit containers… it started to get ridiculous. For the record, the best removal method for labels on GLASS jars (not plastic, like THIS post) is to soak them in warm water for 20 minutes, scrape as much of the label off as possible, then cover with a coat of Goo-Be-Gone. Remove remainder of label/adhesive according to Goo-Be-Gone instructions and then wash the Goo-Be-Gone off (and any remaining gunk) with a baking-soda scrub and rinse. Upon finding my huge box filled with glass jars and lids that I had been stockpiling, Josh asked if this project was something that he needed to be worried about. Josh often has a hard time visualizing the end results of some of my ventures, so I understood how this collection could appear troubling. But, upon finding the tube of animals, I finally started putting this project together.
As I mentioned earlier, all the different directions for this project were vague or varying. I wanted specifics! What TYPE of glue? Hot? Crazy? Craft? Do I need to prime before painting? Do I paint with acrylic paint or use spray? Hot glue didn’t seem strong enough for me, so I busted out my super strong epoxy glue. After deciding which animal belonged to what jar, I sanded the lids and glued them on.
Even unpainted, this project was looking adorable! I waited the suggested 24 hours to allow the glue to cure and then went to test the bond. 95% of the animals fell off the lid. Total fail. I’m not sure why the epoxy failed, but sometimes its all about having the right tools for the right project. Frustrated, I peeled off the unsuccessful glue and tried again with Aleene’s Super Gel Adhesive (look for it in our Amazon store!) and waited ANOTHER 24 hours to see if this glue would work. Thankfully, it did. Since I had had problems before with items not being primed before painting, I set up my spray painting station and primed a batch. After waiting overnight, I went back to see the results and was disappointed by the runny, gloopy mess that now unevenly covered my first batch of lids. So, no. You don’t have to prime this project before painting. Since the first batch turned out 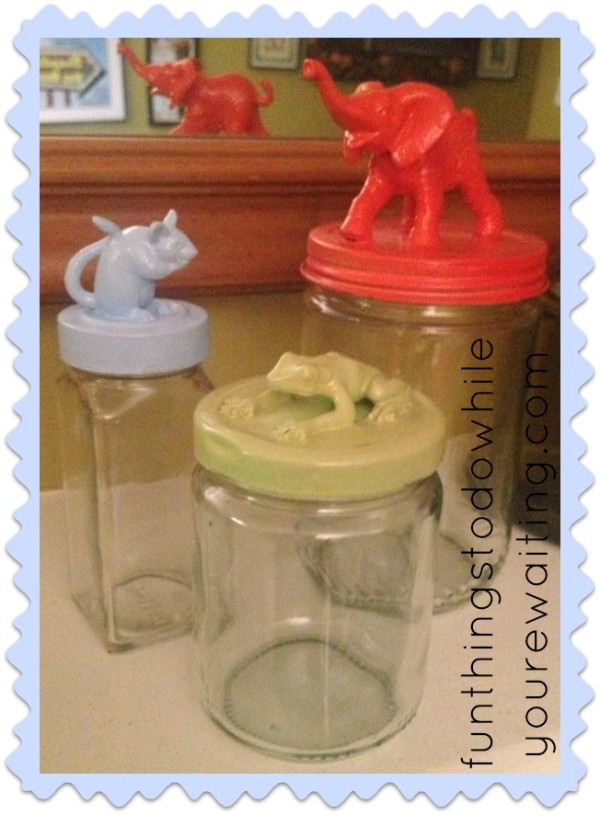 wonky, I didn’t prime any of the further iterations and I haven’t noticed a difference except in the fact that the UN-primed ones seem to maintain more of their detail. After I figured out that priming was unnecessary, I broke out my spray paint collection to figure out which color best went with each animal. Once that was decided, I then sprayed the lids in batches divided by color. It actually took several coats on each as the figurines proved to be more nuanced than I thought with undercarriages and hind legs being missed on the initial pass. Once both the figurine and lid were painted to my satisfaction (which with all the coats and batches and drying time took me a week), I sprayed them all with a clear, acrylic sealer. And while you don’t need to prime your figurines, I highly suggest sealing them. Sealing make your final project shiny and not as tacky to the touch.
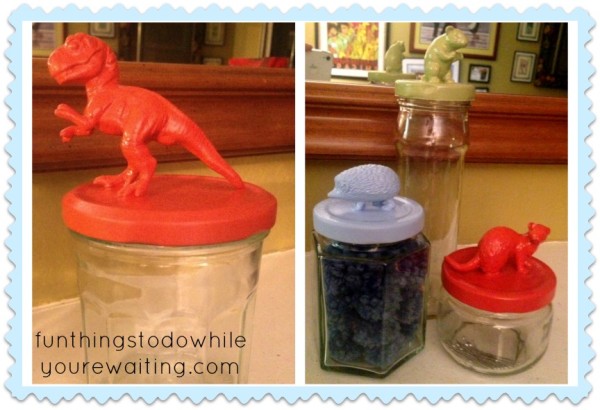
Aren’t they awesome, though? Who wouldn’t want to store their yarn pom-poms in a jar with a blue hedgehog on it? Doesn’t everyone keep their generic, drycleaner straight-pins in an old pimento jar with a weasel on top of it?

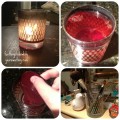
I have distributed them throughout the apartment, using them for storage in my office, kitchen, bathroom, and boudoir. My favorite batch, however, is the set that I painted gold and are now residing on my dressing table. How precious is that corgi holding all my makeup sponges? What can’t I store in that adorable parakeet container? Isn’t that bun just the perfect fit for that old, Tyler candle jar I had?
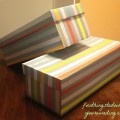
Not only can these jars be used for storage, but they can also be used as gift packaging… or as a gift itself! Also, lest you think I just tossed the rest of the glass jars I had accrued, I re-used them to hold touch-up paint for our walls or for food storage. Always re-use that thing… or, at least put it in the recycling bin.
I’m pretty pleased with the end result. Everything else leading up to finishing this project? Yeah. I could totally do with less of that. What do y’all think? Was it worth it? Have you ever gotten yourself deeper into a project than you thought was necessary? As always, let us know!

Love these so much! I have also wanted to try but have yet to do it! Target dollar bin sometimes has these creatures in it!
Also. check this out! I want to try these STAT
http://iheartorganizing.blogspot.com/2014/03/be-inspired-stylish-storage-box-update.html
Laura- Those boxes are precious. Painting seems like a much easier solution than mod podging paper (which is a project I started… again). Aaaaaaaand, now I’m obsessed with iheartorganizing.blogspot.com. Great suggestion!
These are adorable! I also love the set on your dressing table:) We had tiny vintage plastic animals as our favors at our circus wedding. I applaud your diligence! (There would have been much screaming on my end when the glue didn’t work the first time)
Jeanine- Your circus wedding sounds amazing. I’ve seen some pictures and it is a party at which I wish I had been. Where did you find your animals? Did you pay a premium for their vintage-ness. Regardless… you’re too cool.
Your postings are very professional, in both the visual and written… So well done
I’ve been a huge fan since you aired this blog and look forward to many more creative moments in the future
Thank You
My best to you and Coralies
Thanks Michelle! We really appreciate the kind words! We are so glad you enjoy our blog and hope you find some good ideas to inspire you! -Coralie